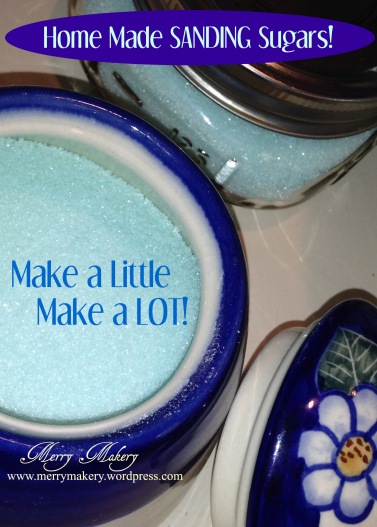
Ready to make some sugars that glisten and pop without spending a ton of money on little bottles of joy? Me too! The recipe is really simple and this can make a little or a bunch. You just adjust your amounts accordingly. No little baggies and no stained fingers to boot because you won’t have a ton of condensed dye in your sugar!
Ready?
1 tsp. water with coloring to 1 Cup of sugar
Yes, that is IT!
I got up early this morning and whipped up a new batch while taking pictures for you. It proved to take longer to fight through the media and posting than to create the sugar itself. I have TONS of pictures for you so that you can understand why I veered away from using baggies and kneading and went right to the mixing bowl.
For the project of the Light Up Sugar Cookies, I started with 4 cups of sugar so that I didn’t have to go back and create more later. I had a lot left over to say the least.
Here I am using two cups of sugar: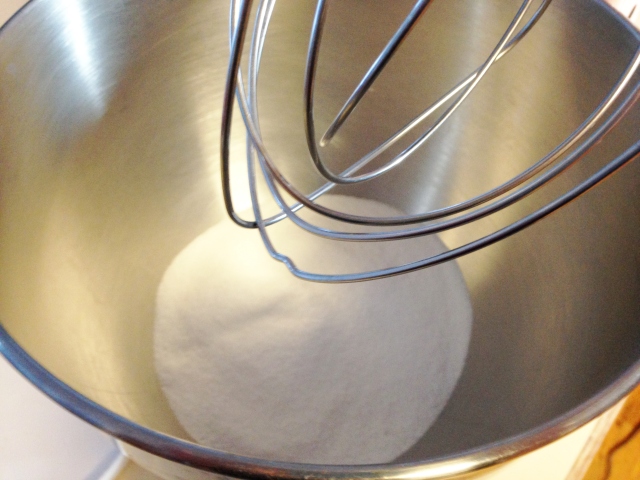
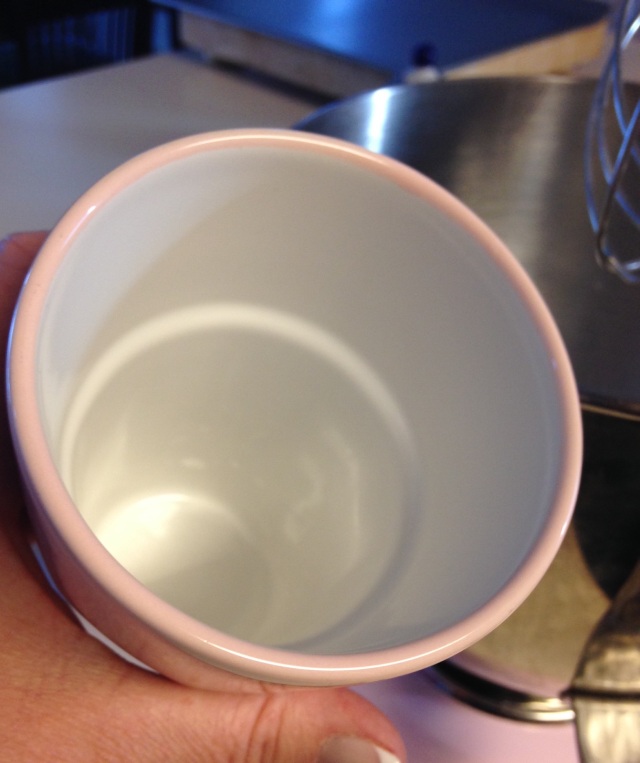
& two tsps. water in a cup:
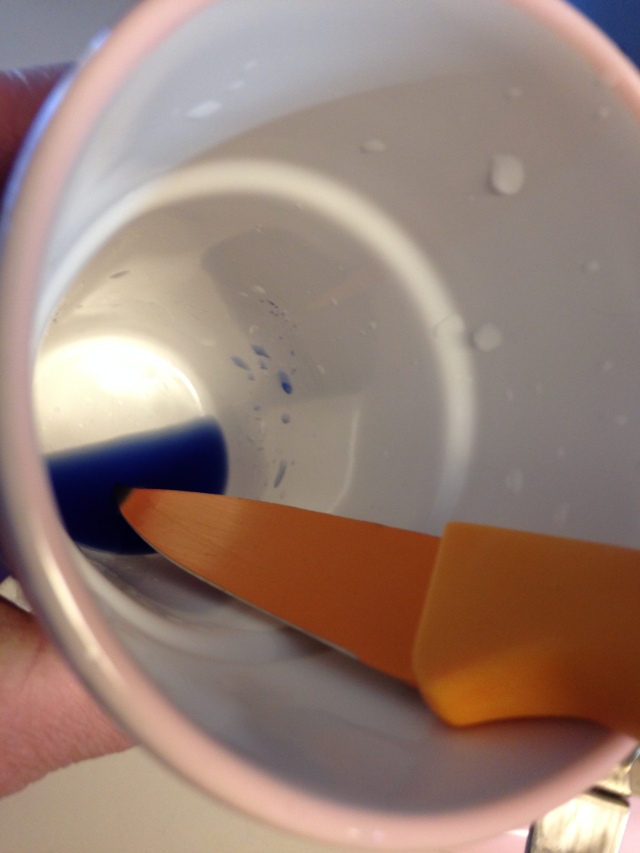
Dip the edge of a knife into some gel food coloring:
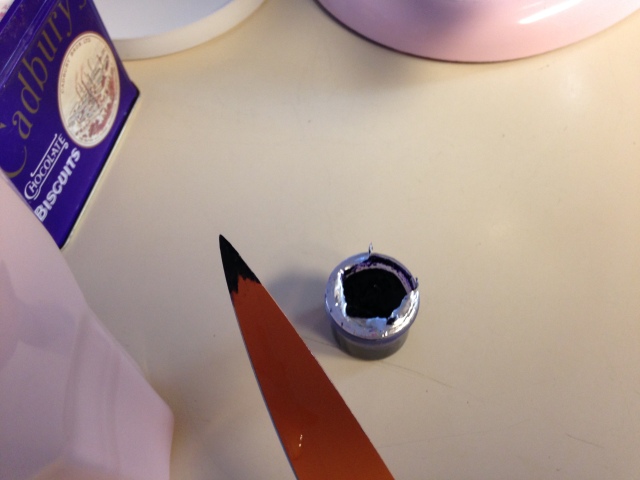
And mix it in with the water:
The final color will be MUCH lighter than what you see in your cup so don’t be afraid to use plenty of color!
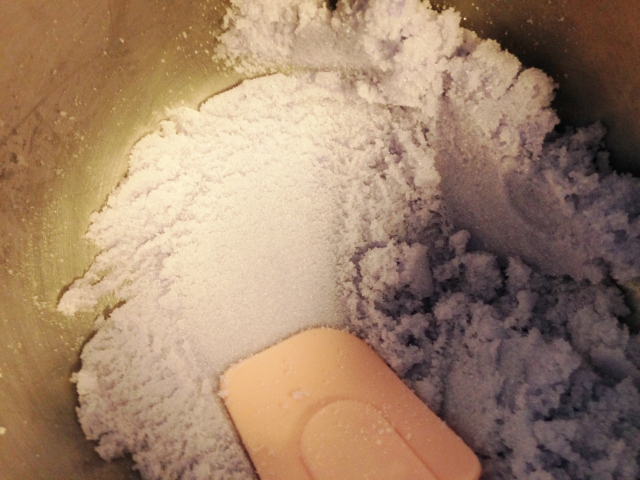
Add your colored water to the sugar:
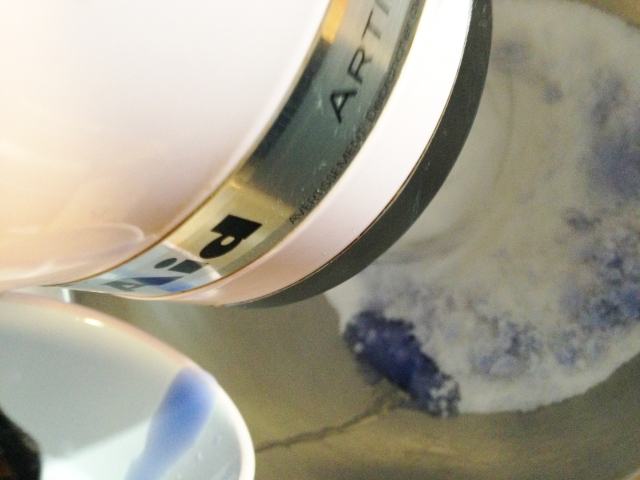
Whip it Baby!
Zoom!
Keep the cup handy to hold your utensils so that you do not get dye everywhere. It just saves cleaning up an unnecessary mess:

Turn off the machine and mix with a spatula.
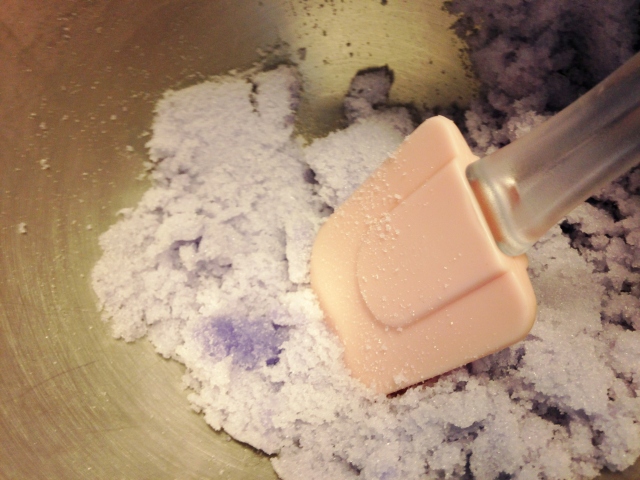
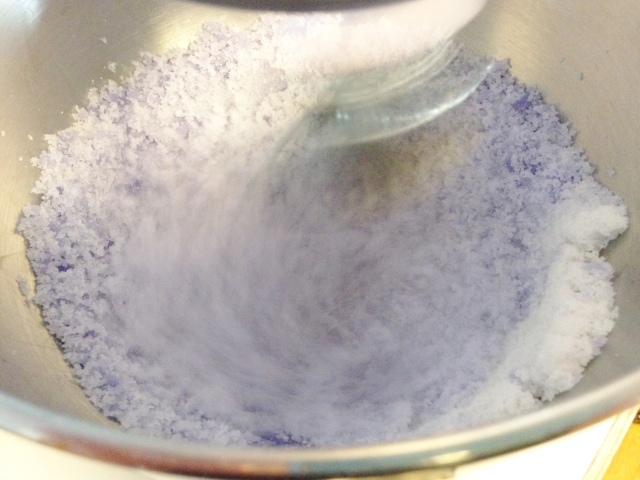
You will see chunks of uneven coloring. Pet those into the sugar with the spatula.
Yes, pet…like you would your pup. Lightly spreading the color into the mixture.
Looking better. The color is a little dull because of the moisture. No worries. It will glisten up when it is dry.
And, whip again:
The hardest part is over, now you just have to dry the sugar. Simple right? Wondering why we spend so much on little jars? Me too!
Transfer out onto a cookie sheet:
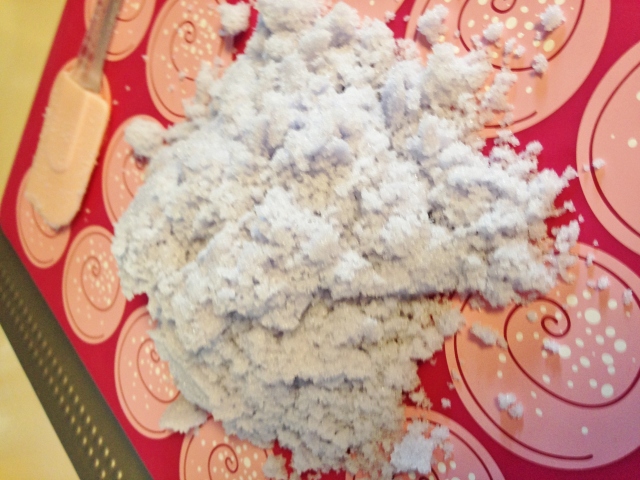
If you leave it like this, it will dry like this. So, you are going to have to spend a little time fluffing it.
If yours gets away from you and dries, roll it with a rolling-pin.
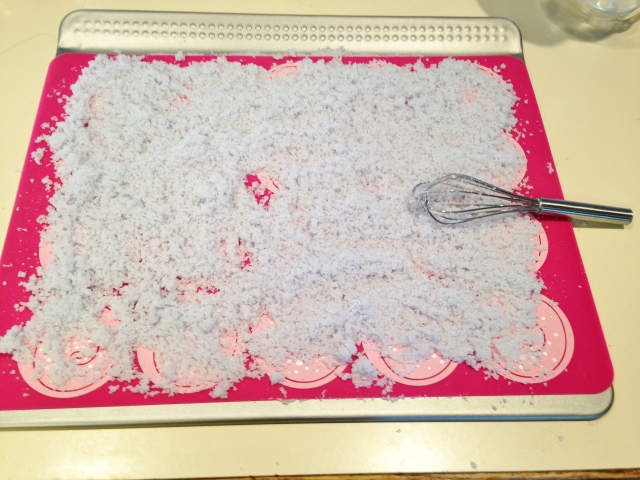
Spread it out and then chop it to break up large chunks:

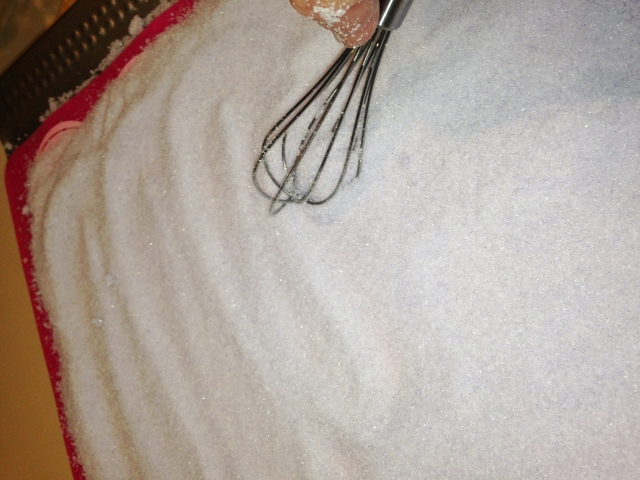
Create airflow by whisking it around a bit:
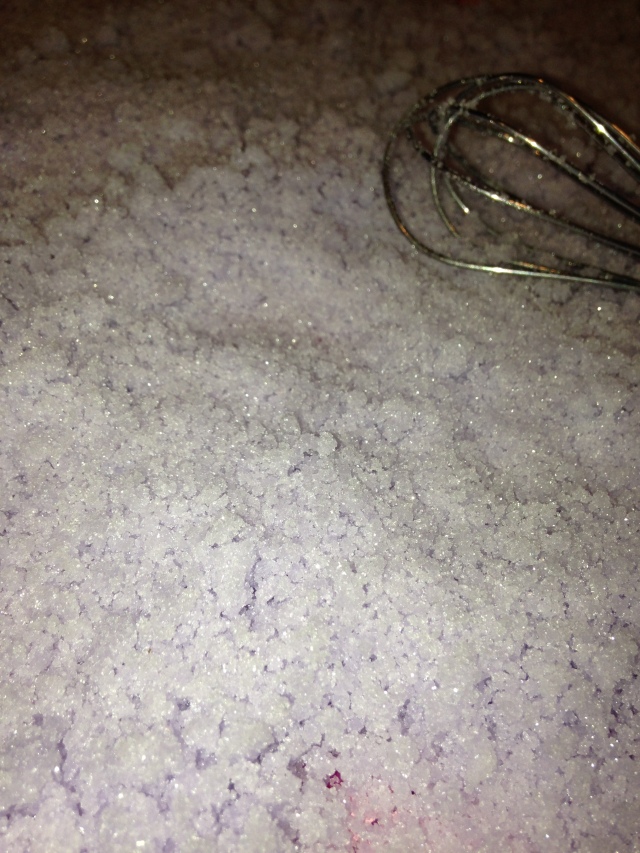
It is starting to dry and you can see the sparkle returning.
Place into oven at 175 for 5 minutes and stir, then again five minutes and stir.
You are just moving it around a bit to allow the air to dry the water out of the sugar.
At some point it will be a bit…uh…crunchy and that is when you will remove it from the warm oven.

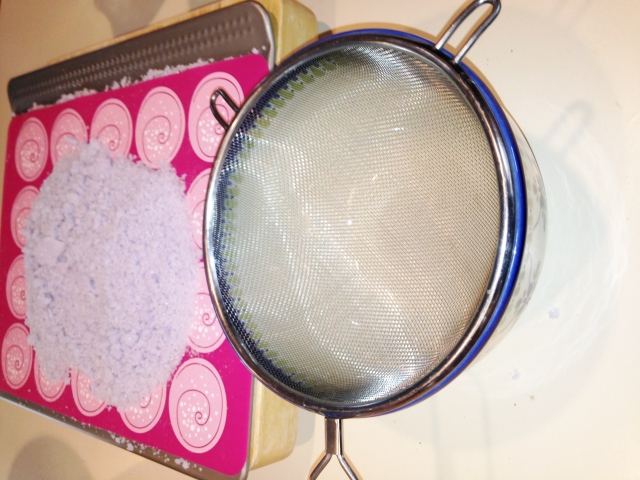
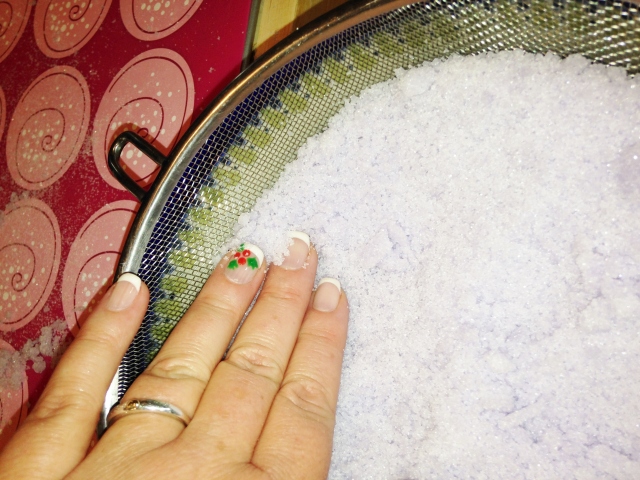
We are just going to fluff it up by shaking it through a wire sieve:
The mixture may be a bit moist still so cajole it with your fingers along the edges.
Toss these last few leftover chunks.
They are hardened on the outside and filled with moisture.
Not worth the effort.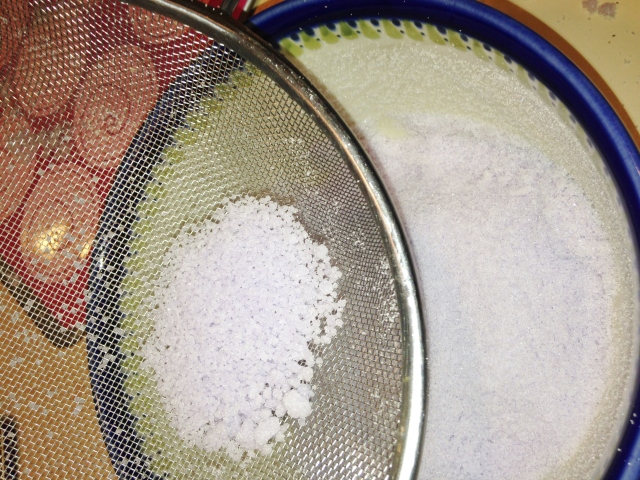
Repeat the process again to add more air:
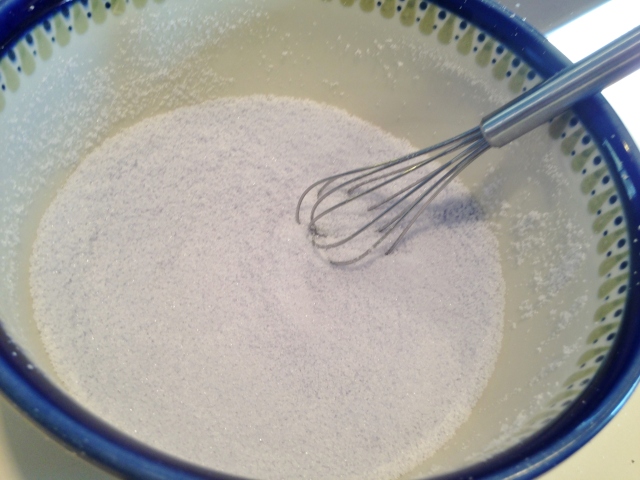
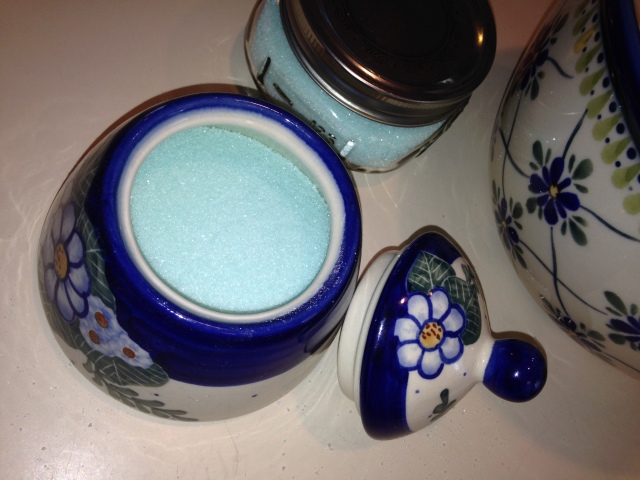
It is done!
So. So. Pretty!
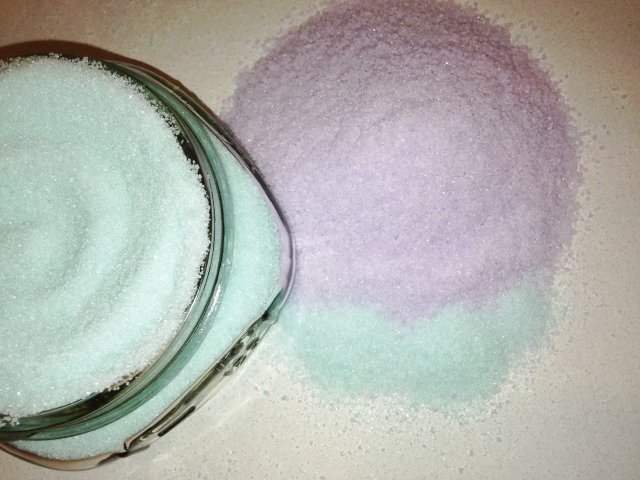
Don’t you think?!


 If you feel like it, would you consider visiting